
To adjust the sensitivity of a Joystick/Yoke, you use the CONTROL RESPONSE panel of sliders:

This allows you to set an overall sensitivity for the pilot’s Pitch, Yaw and Roll axis as well as the Copilot’s Pitch, Yaw and Roll axis:
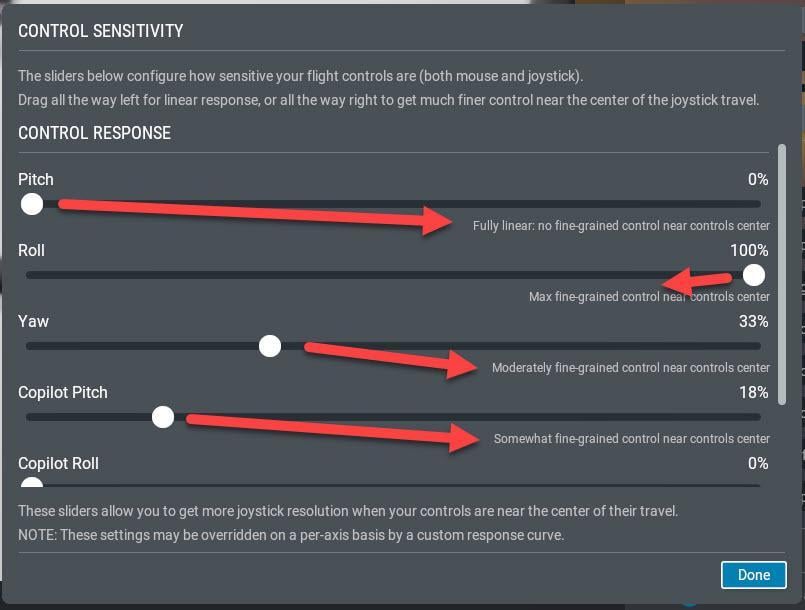
The panel tells you the effect of moving the slider.
HOWEVER…
This is just a linear setting, and therefore, it is only of real use if your Yoke/Joystick is absolutely linear in performance. Very few are unless they are brand new with no wear and of very good quality.
A more useful tool is the response curve graph. But unfortunately, you cannot use the SENSITIVITY tool for rough adjustments and then fine-tune it with the RESPONSE CURVE. In X-Plane 12, it’s Either/Or.
You get this graph by clicking the Add Response Curve button (ringed in the first image). Clicking this button produces this graph:
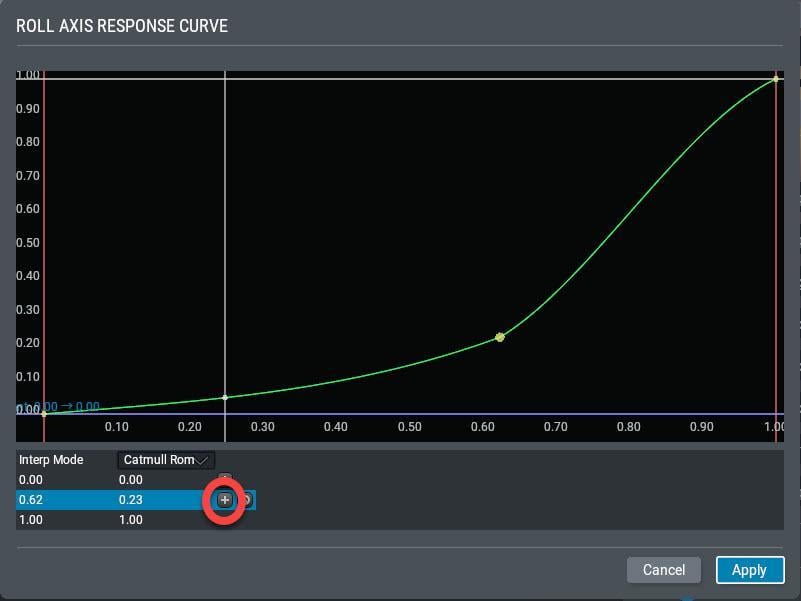
There are no instructions in the X-Plane manual how to use this tool and I have to admit I wasted a lot of time trying to get this to work, until finally, I realized that you first have to select a point by clicking on the appropriate row in the table at the bottom. If you want to add another control point you have to click the “+” icon and another line is added.
After you have figured this out, it’s easy but time-consuming to get the control points into their best position through trial and error.
Two Tips:
- Don’t add more than two or three control points to the existing three. The fewer the control points, the easier it is to get the curve’s shape to match the characteristics of your peripheral.
- It’s often a good idea to use an external view to see the actual physical movement of the control surfaces. You obviously can’t do this in real-time while you are updating the response curve, but you can quickly see the effect of your tweak while physically looking at the control surface from close-up. It’s then quick and painless to go back and forth into the settings menu from the top menu:
